Your cart
There are no more items in your cart
In the world of handicrafts and DIYs, we can always find felting. It is a popular alternative to knitting and crochet. No matter your age, making felt sheets at home is a fun activity to learn.
Wet felting at home is a very fun activity for kids and adults. Wet felting is a common felting process used to transform animal fiber into dense fabric known as felt. You can learn more about wet felting and other felting techniques from our “Beginners Guide to how to Felt: Felting Techniques 101” blog.
With a few basic skills, you can easily learn how to wet felt sheet at home. You don't need a lot of money, time, or space to make your felt craft at home. Also, after you've mastered it, you can keep it as a minimal hobby while letting your imagination run wild to create your unique DIY felt crafts.
And, the best part is that it can be a source of income for you as well.
In this article, we'll discuss the basics of wet felting at home. We will teach you easy ways you can wet felt to make felt sheets at home using some basic home supplies.
Supplies To Make Wet Felting Sheets at Home
- Wool Roving (colors of choice)
- Nets/ 2 pieces bubble wrap/ matchstick blind
- Soap
- Warm water
- Rubber Mat with holes
- Desk or Table
Wet Felting Step-by-step instructions
1. First of all, make your set-up ready. Lay your rubber mat over a flat table. Take warm water over a bucket. Take a soap and wool roving of the color of your choice. The best part of this is you can grab them at your nearby store and get the best wool for felting at our store “Felt and Yarn”.

2. Take your wool roving and use your fingers to pull apart the wool into tufts. Do not cut the wool with scissors. Cutting the wool with scissors makes the edges sharp and hard to felt.
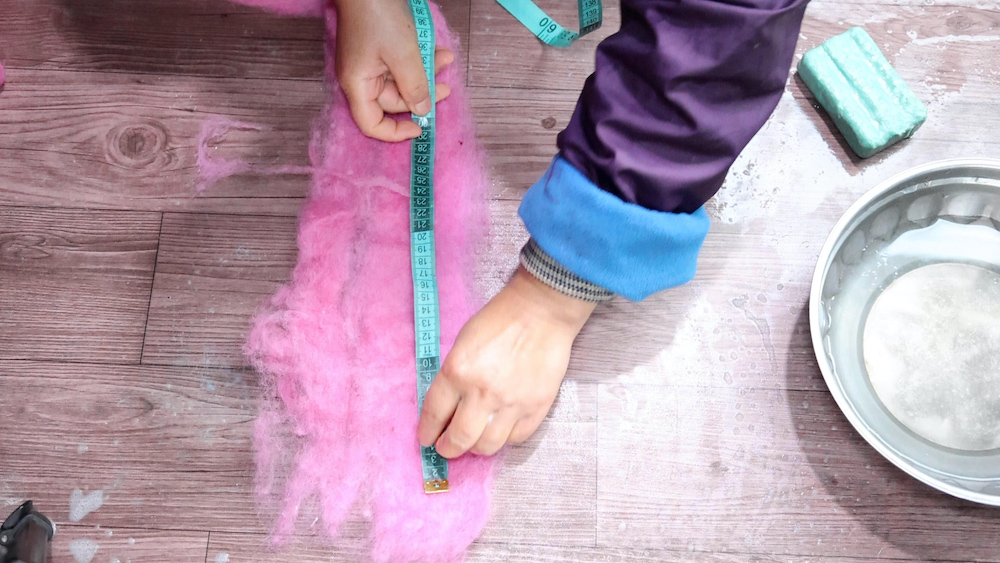
3. Lay your wool tuft over a tabletop upto the desired length (use a measuring tape if needed) and make sure the fiber goes in the same direction. Overlap the wool tuft over each other.
(wool can shrink as it felts so make sure to take more wool than your desired size.)

4. Lay out more wool on top of your base wool. This time make it perpendicular or position the wool at a 90-degrees angle to the base layer of wool.
.jpg)
5. Repeat the process for a thicker felt sheet. And make sure to put the wool tuft in an alternating direction.
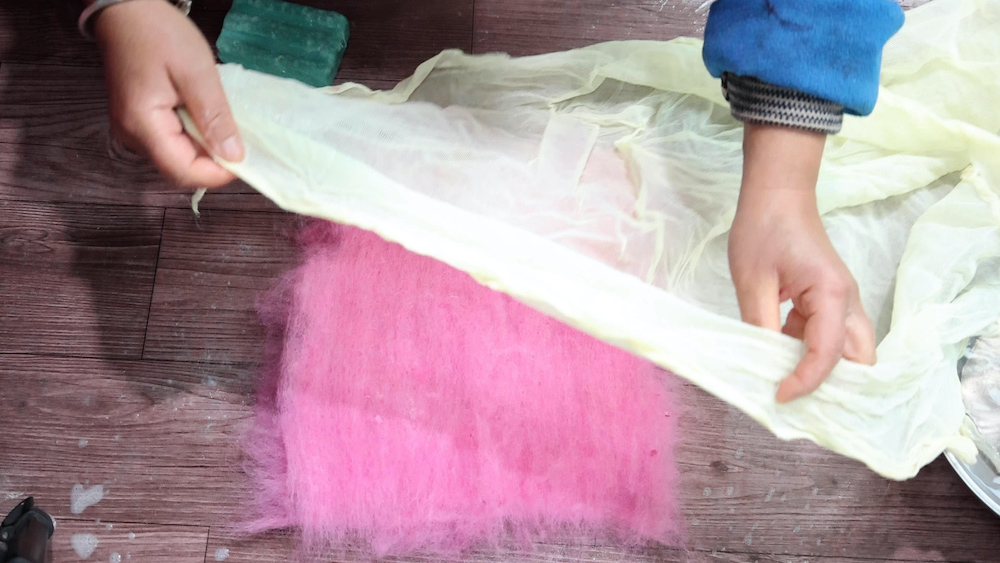
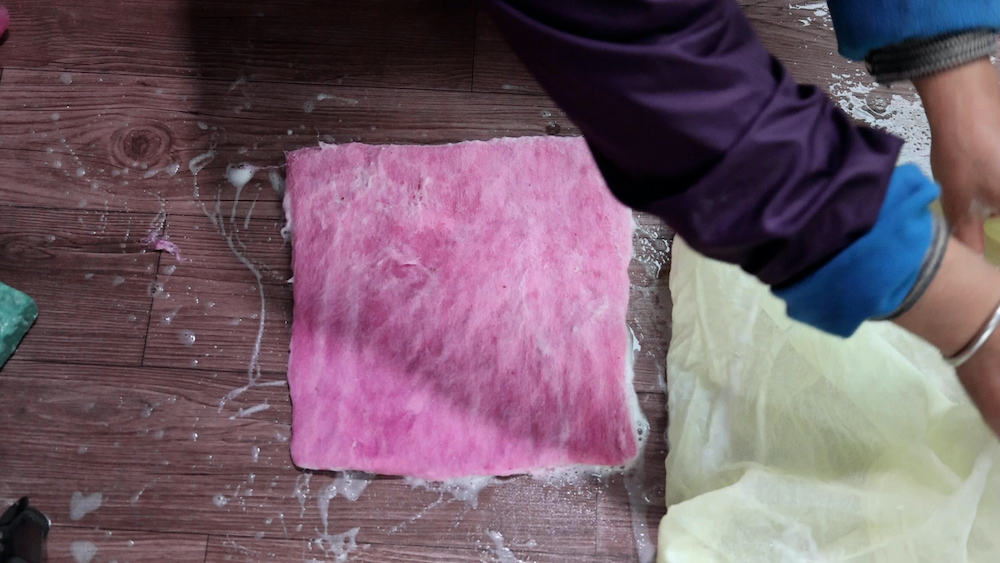
6. Put the net over your wool and sprinkle with soapy water or just with water and wash with soap. Spread the water all over your wool and soak every part.

7. Remove excess water and use the net to roll the felt into a log like sushi. Then roll the felt back and forth for about 5 minutes over a rubber mat.
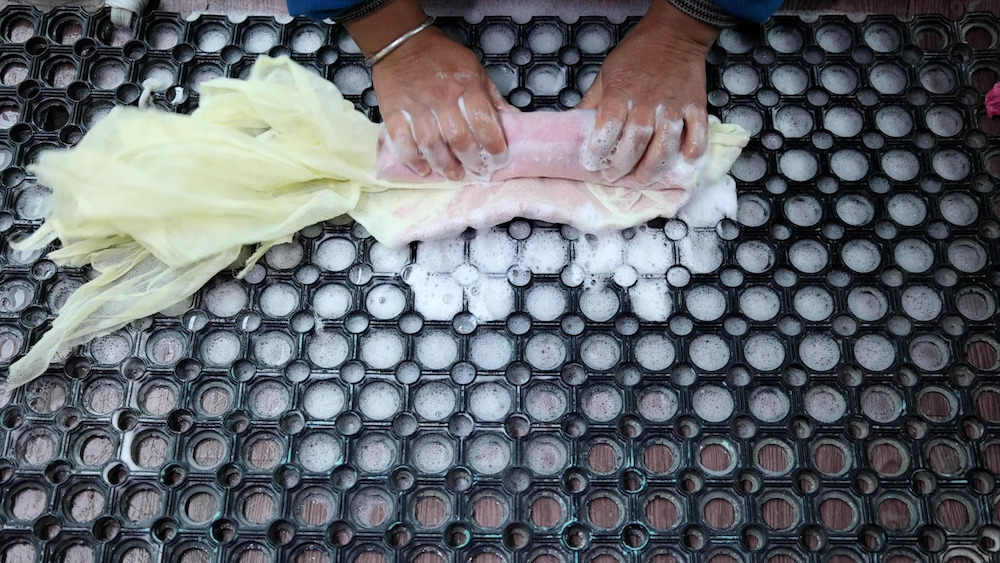
8. Unroll the felt to check and again roll the log from the perpendicular side and roll for another round. Repeat the process another 3-4 times.
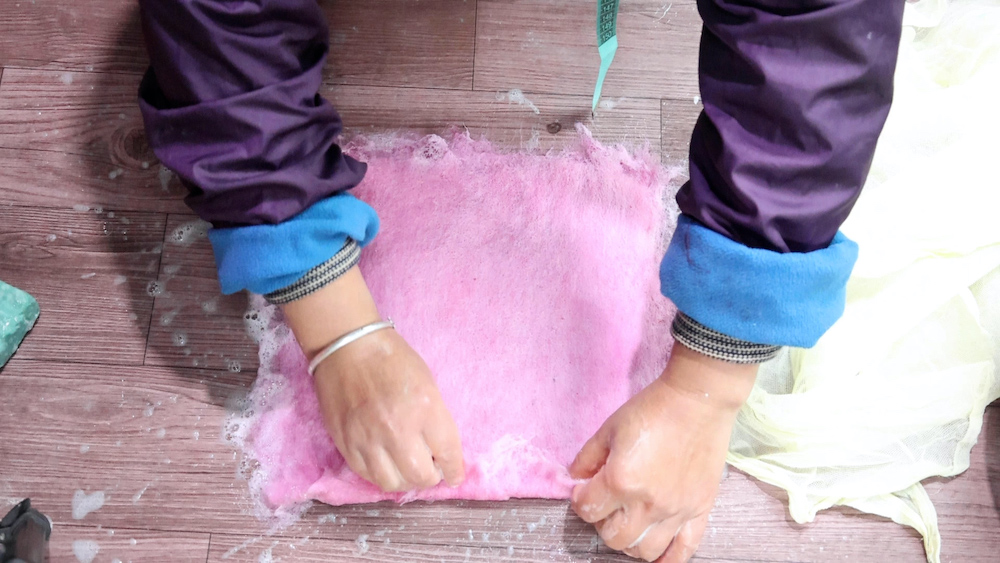
9. Make sure to manage the edges so that it forms a consistent line.
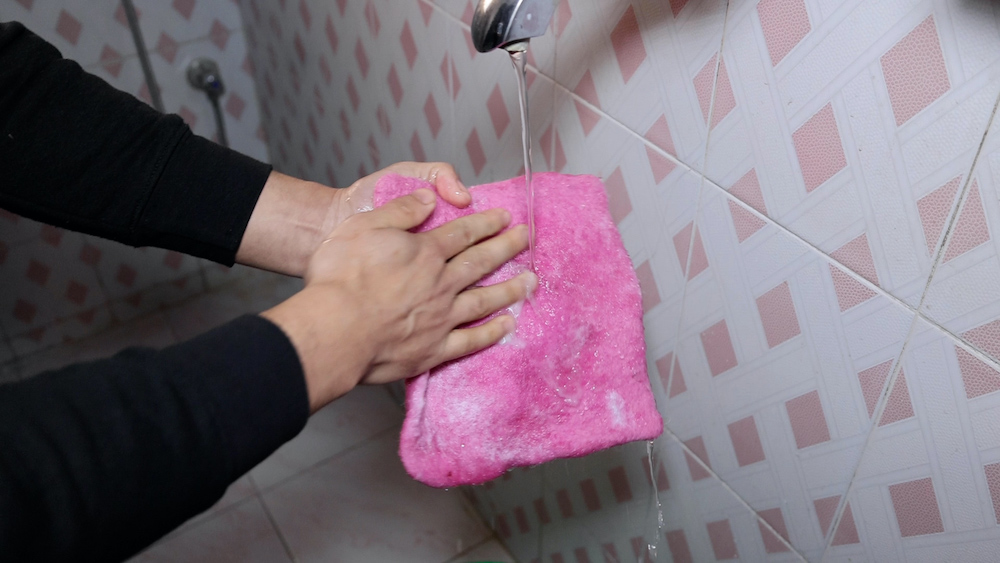
10. Squeeze your felt to remove excess soap water and rinse the felt with clear water afterward.
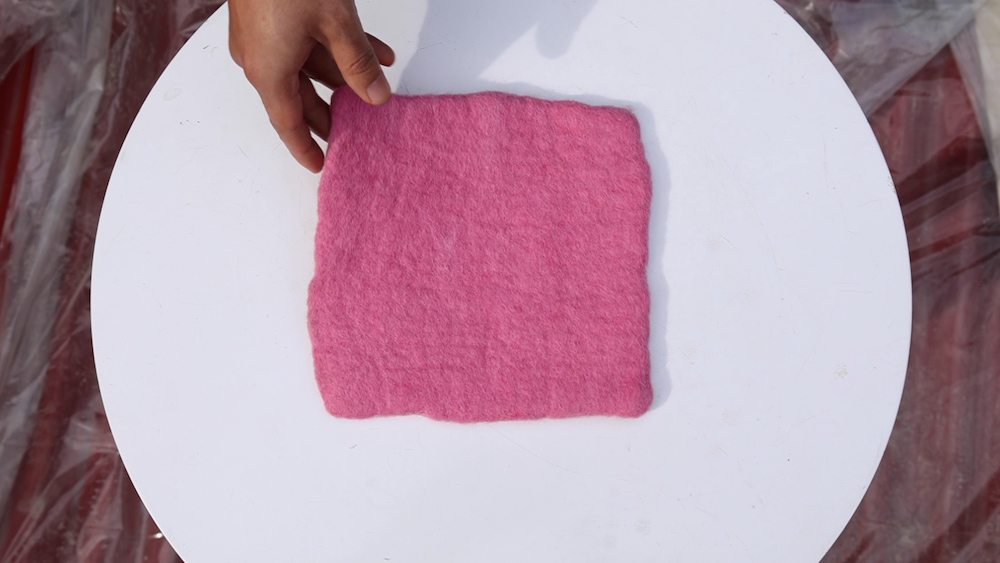
11. Leave the felt product to dry up and voila!! your felt sheet is ready.
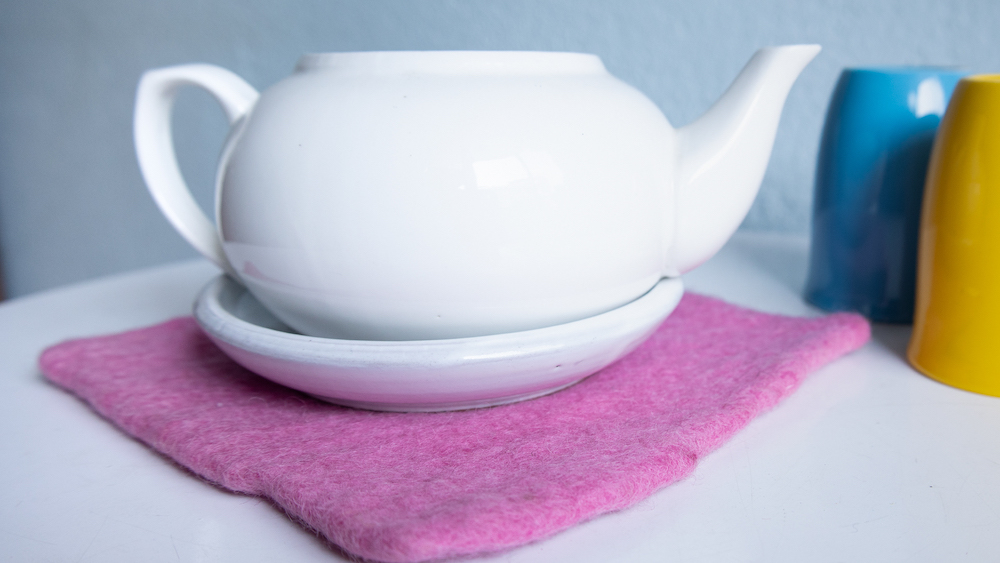
12. Use them as a base to your cups or teapots or cut them into desired shapes to make whatever you want with them.

Here is a detailed step-by-step video on how to wet felt a sheet easily using products available at home.
That’s it! Getting into wet felting at home isn’t hard as you think. I am sure this wet felting instruction helped you to start felting. Use them as your coaster or trivet or base for your indoor flower pot, the choice is yours. You can also add other color wool as small detail over your felt sheet to bring your felt sheet to life.
Do comment on what you’ve made following our easy wet felting DIY tutorial. Don’t forget to share your crafts with us on our social media sites.
Categories
Other Posts
- Sustainable Felt Crafts: Eco-Friendly DIY Projects You Can Make at Home
- Fun Felt Crafts for Kids: Easy Summer DIY Projects to Keep Them Busy
- Easy DIY Felt Flower Crafts for Spring Home Decor: Beginner-Friendly Ideas
- St. Patrick’s Day Crafts for Kids (No Sewing Required)
- Start the Year Right: How Wholesale Felt Can Help Your Business Achieve Sustainability Goals in 2026