Needle Felting has gained popularity over the years as a fun and creative way to transform wool into beautiful masterpieces. This felting technique is quite addictive and straightforward to begin with. Whether new to felting or interested in crafting handmade decors, this guide will walk you through everything you need to know about the maker's felting process.

What is Needle Felting?

Unlike Wet felting, where soap and water are needed, Needle felting is a dry felting technique that uses special barbed needles to interlock wool fibers, creating firm, sculpted shapes. No water or soap is required, just patience and a bit of creativity!

Types of Felting Needles

Triangular Needles:

This needle has a triangle-shaped shaft or a working tip with regularly shaped notches on the three edges.

Star Needles:

This needle has a four-sided shaft with regularly spaced notches. It has a vertical line running down it so it gathers more wool. 

Spiral Needles: 

This is the triangle needle shaft that has been twisted. The spiral needle penetrates the wool more efficiently and deeply. 

Reverse Needles:

Reverse has shaft facing the opposite direction of regular needles, so instead of pushing fibers in, it pulls them out. This can blend fiber, add texture, create fuzz, or correct mistakes.  

Essential Needle Felting Supplies and Tools

To get started, you’ll need a few key items:

Needle Felting Wool: Soft, unspun wool (often called roving) is the foundation of every project.

Felting Needles: As discussed earlier, having a range of needle sizes is essential.

Foam Pad or Felting Mat: Protects your surface and prevents needles from breaking.

Finger Guards: Optional but recommended, especially for beginners learning their stabbing technique!

Needle Felting Kits: Great for those new to the craft, these kits often contain everything you need to complete a project — from wool to step-by-step instructions.

Step-by-Step Guide to Needle Felting

Step 1: Shape Your Wool

Gently form a loose shape with your wool that resembles your project (e.g., a ball for a body, a cylinder for a stem).

Step 2: Start Felting

Place the wool on your mat. Hold your needle straight up and down, stabbing about halfway into the wool repeatedly. Move the needle across the entire surface and rotate your piece for even felting. Avoid bending the needle.

Step 3: Add Details

Shape small amounts of wool for details. Attach them by felting the new wool into the main shape. You can "wrap" thin pieces around edges or "layer" wool onto the surface and felt the edges to blend.

Step 4: Smooth and Refine

Use finer needles for a smoother surface with light, shallow stabs. For a fuzzy texture, try reverse needles.

Needle felting is a rewarding craft that anyone can try. With just a few tools and some wool, you can transform simple fibers into charming creations whether you're making animals, flowers, or abstract art. Start small and easy, experiment with different needles, and don’t be afraid to get creative. With practice and patience, you'll soon be felting like a pro. So grab your kit, let your imagination lead the way, and enjoy every poke along the journey!

Frequently Asked Questions

1. Is needle felting suitable for beginners with no crafting experience?

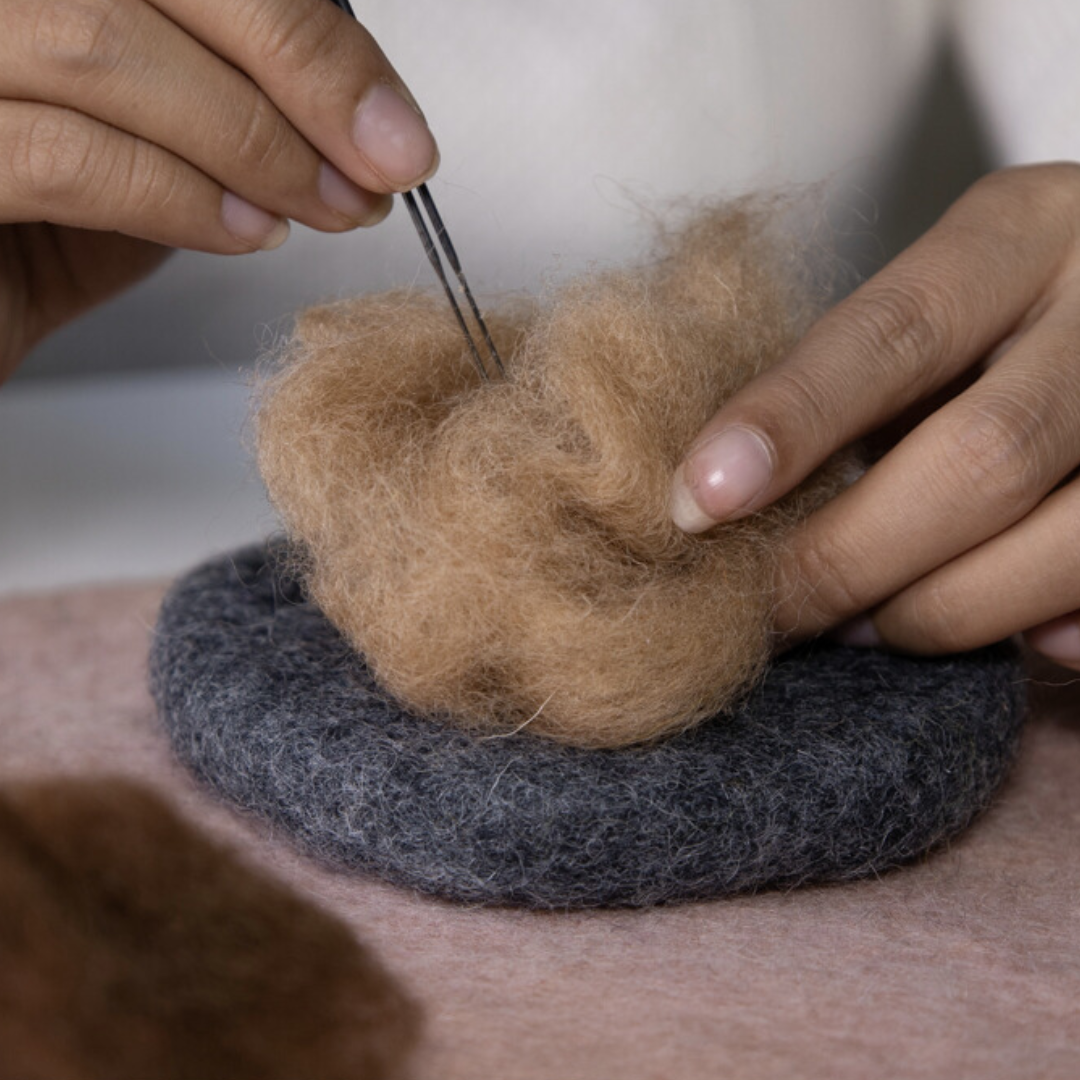
Yes, needle felting is one of the easiest fiber crafts to start. It requires minimal tools, no water or soap, and simple stabbing motions, making it beginner-friendly even for those new to crafting.

2. What type of wool is best for needle felting beginners?

Soft, unspun wool roving is best for beginners because it felts quickly and is easy to shape. Wool with a medium to coarse fiber works well when learning basic needle felting techniques.

3. How long does a beginner needle felting project usually take?

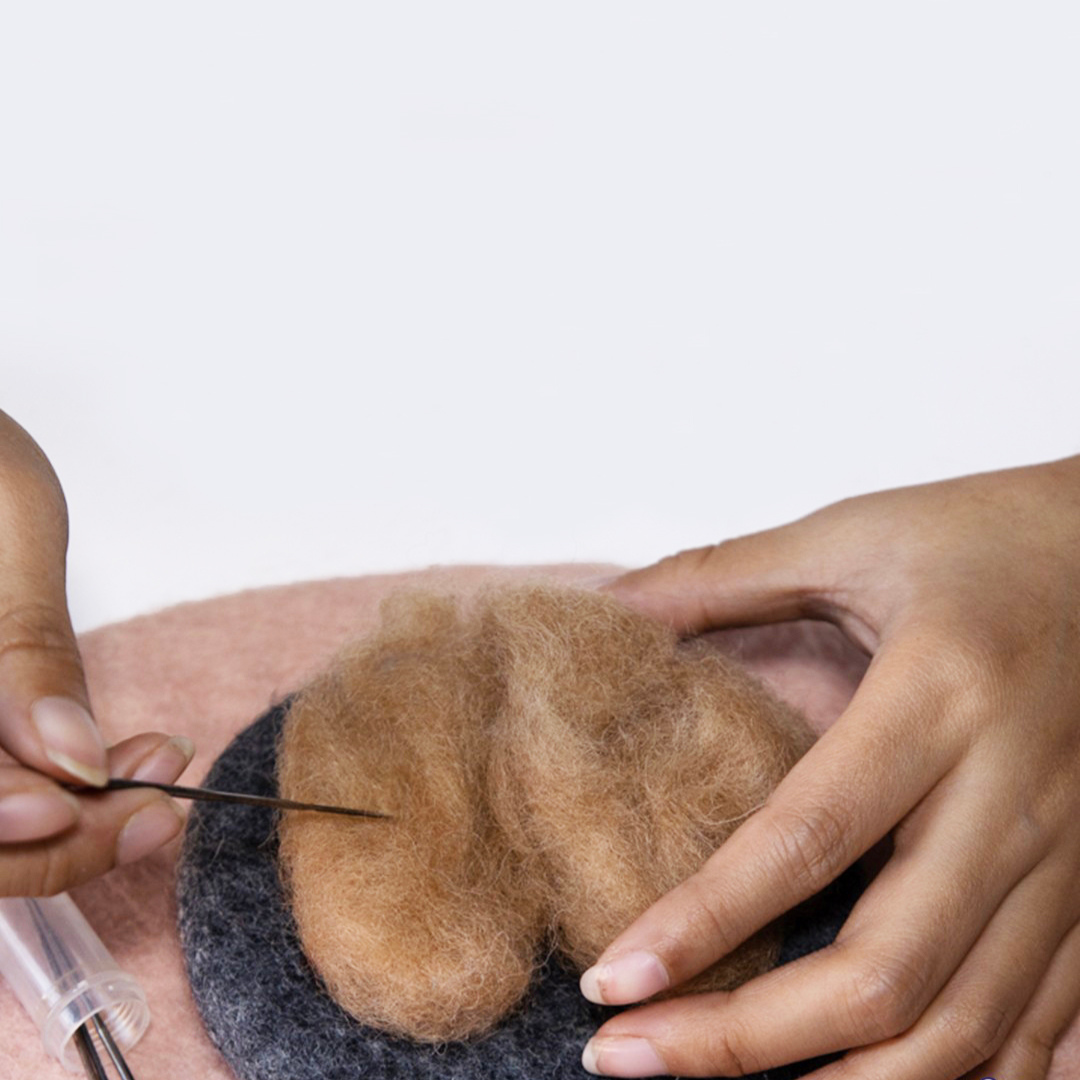
Simple needle felting projects like small balls, flowers, or basic shapes can take anywhere from 30 minutes to a couple of hours. Time depends on project size, detail, and how firm you want the final piece.

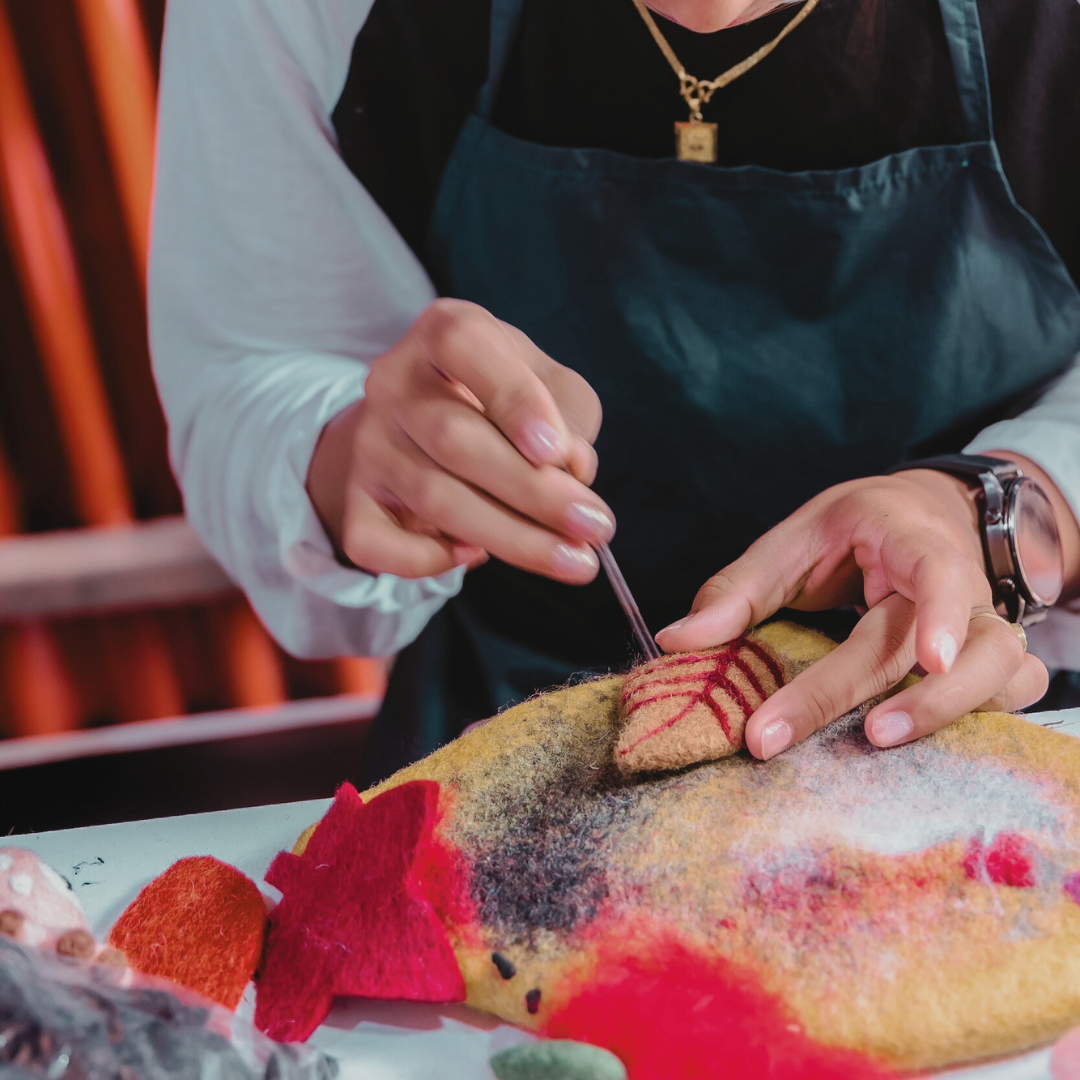
4. Why does my needle felted project look fuzzy?

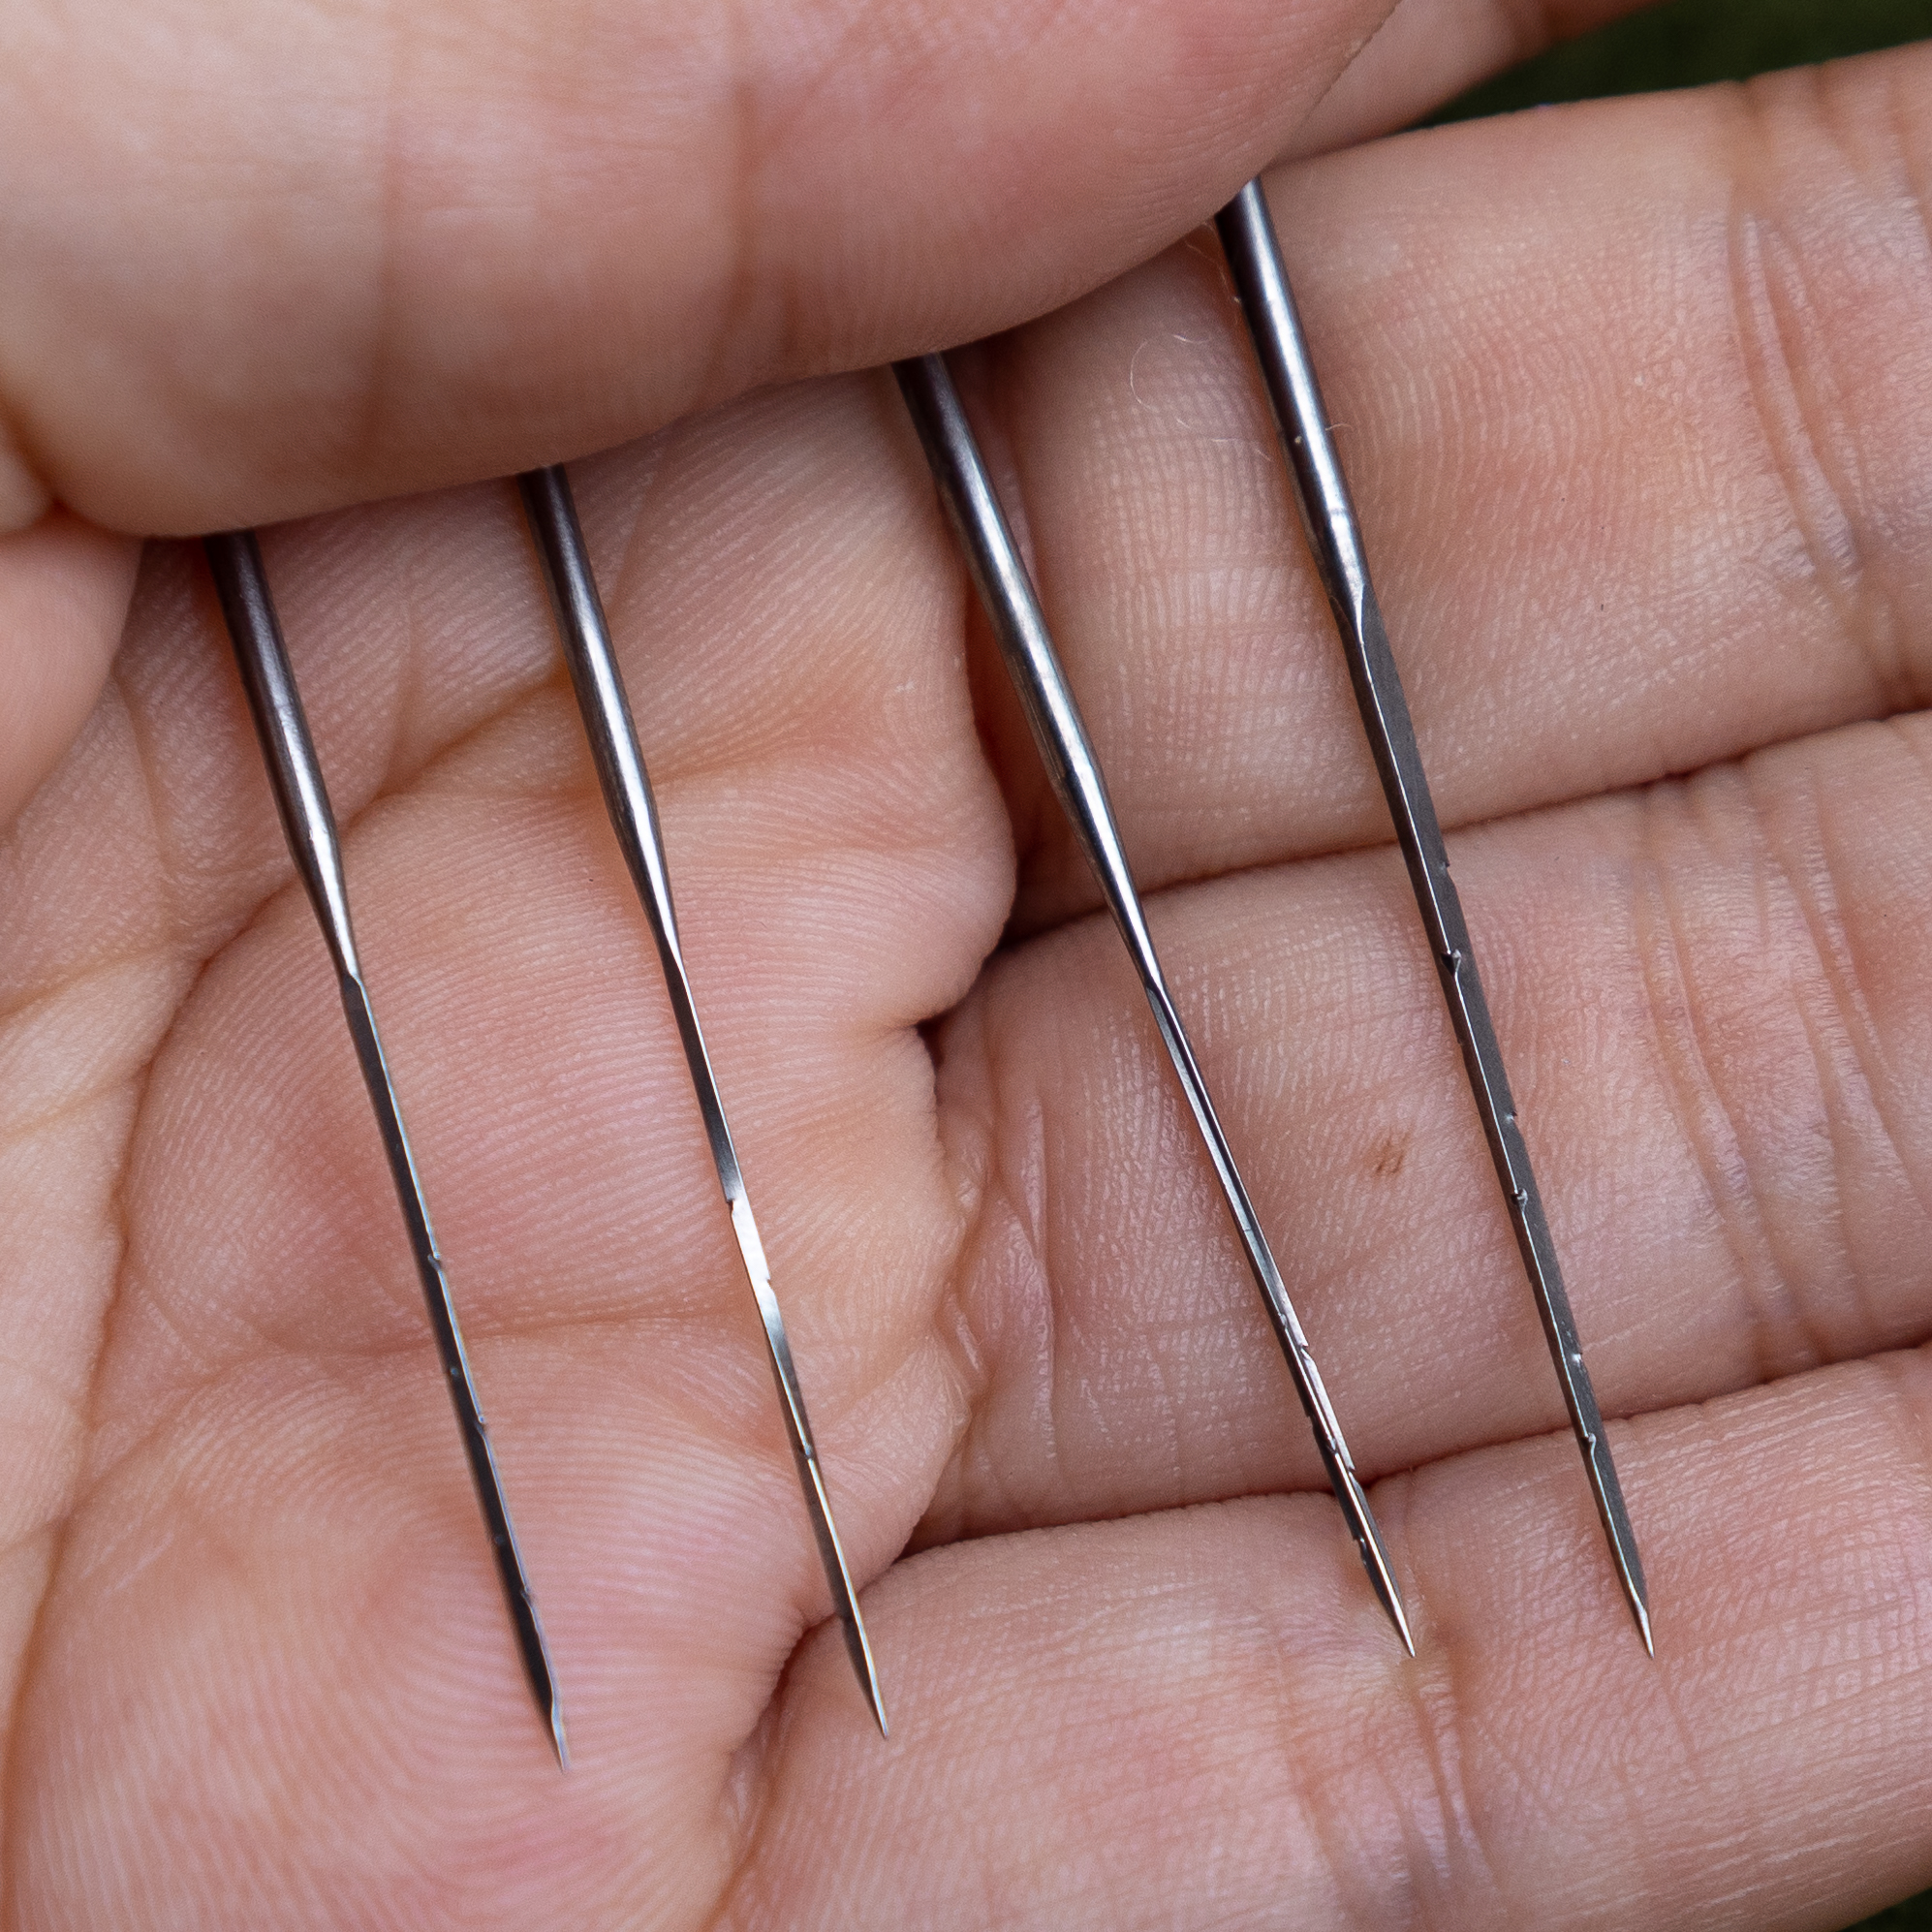
Fuzziness is normal during needle felting, especially in early stages. Using finer needles, shallow stabs, and light finishing work can help smooth the surface. Reverse needles can also be used intentionally to add texture.

5. How do I avoid breaking felting needles while working?

Always stab the needle straight up and down, avoid twisting or bending, and use a proper felting mat or foam pad. Working slowly and evenly helps prevent needle breakage.

6. What can beginners make with needle felting?

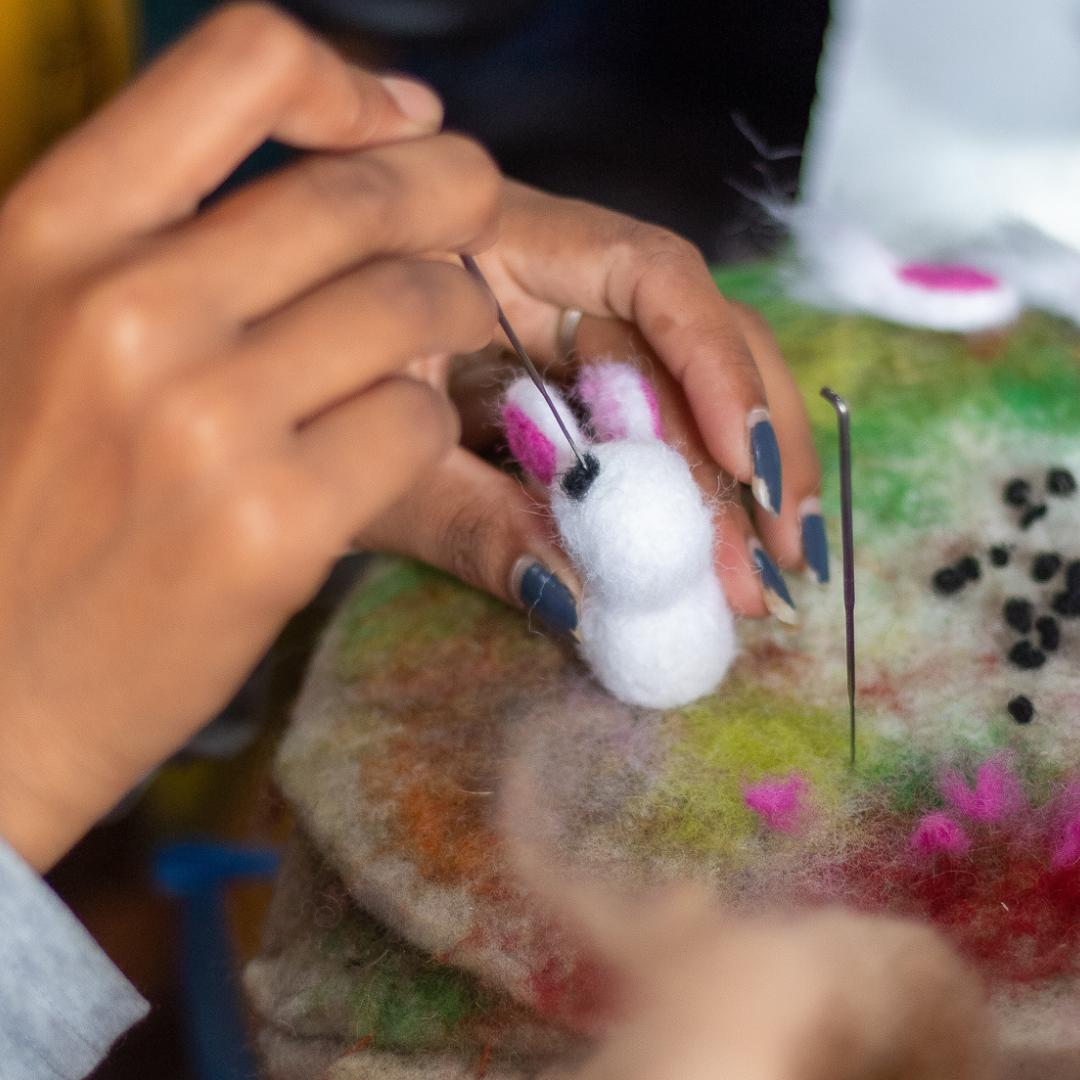
Beginners can start with simple shapes like balls, hearts, flowers, small animals, ornaments, or flat felted designs. As skills improve, more detailed sculptures and decorative pieces become easier to create.